You enter a stone-walled hall lit by oil lamps and the warm glow of a hearth. The scent of oiled steel and old parchment lingers in the air.
Locked weapon racks line the walls, holding spears, halberds, and swords behind iron bars. A large central table is covered in regional maps, marked with pins and scribbled notes: patrol routes, goblin sightings, and bandit activity.
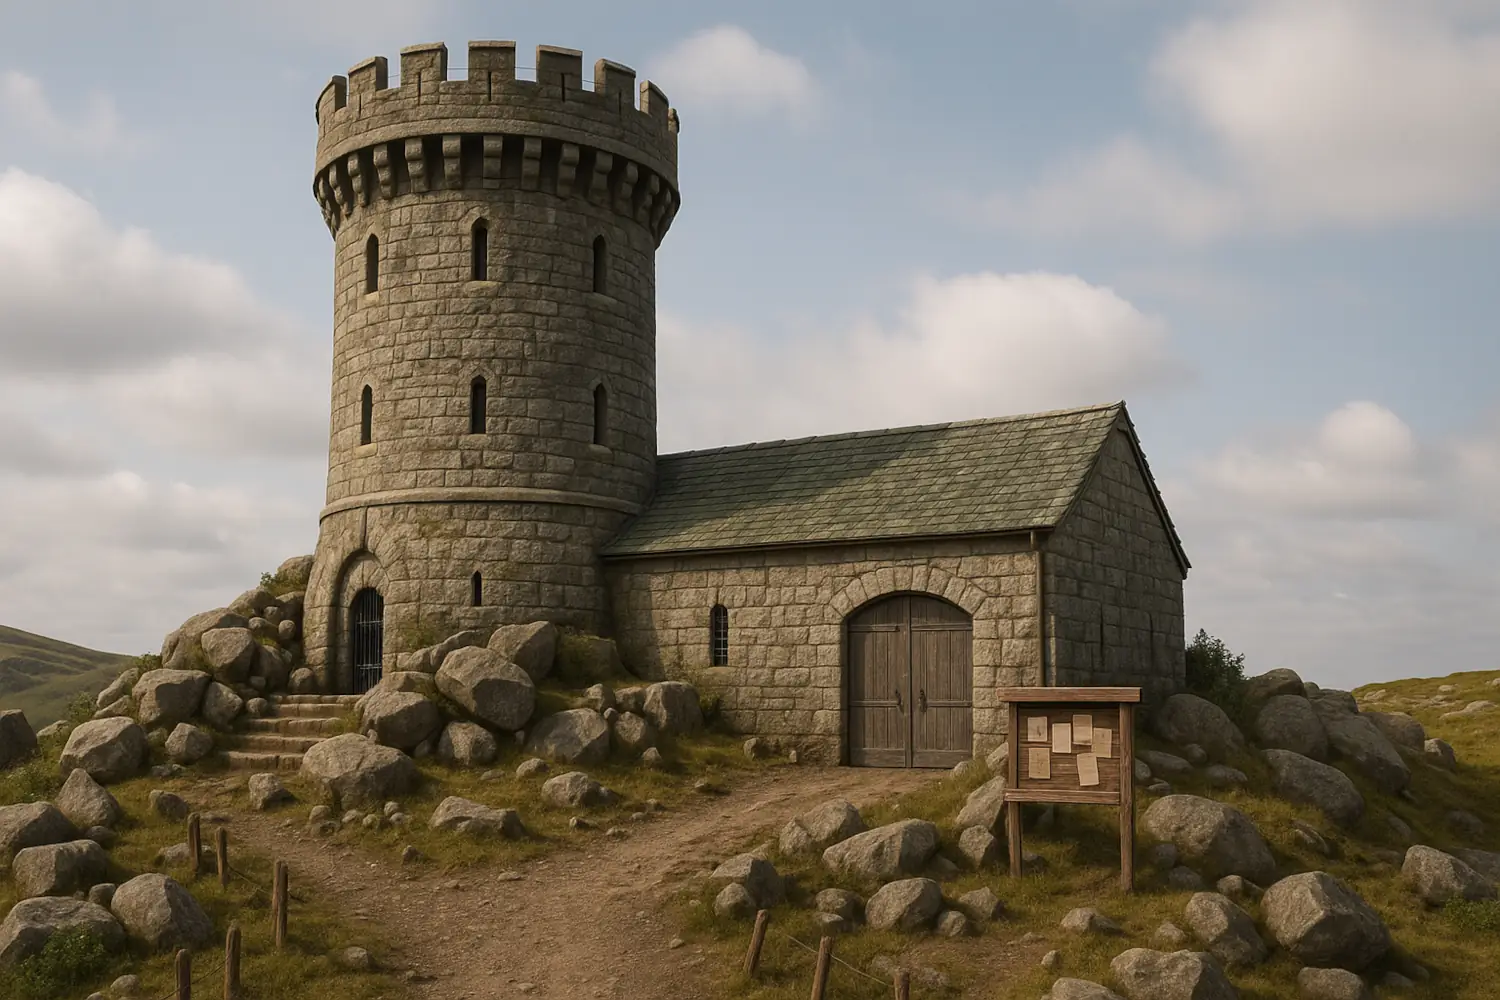
A guard quietly takes notes beside the table, glancing up with a nod before returning to their work. A nearby bench holds posted notices—likely tied to the job board outside.
Weapon Racks:
Contain standard arms: spears, halberds, longswords, crossbows.
All racks are secured with DC 15 Dexterity (Thieves’ Tools) to unlock or a DC 15 Strength to break open.
These weapons are reserved for use by Saltmarsh militia or adventurers summoned for an official excursion.
Drowned Forest: patrol paths, sightings of bullywugs or unnatural beasts.
Kingfisher River: river hazards, smugglers' paths.
Notes detail threat assessments: missing persons, troop movement from Burle, and suspected bandit locations.
Function:
This is the briefing chamber for all major excursions.
Mission objectives are discussed here before deployment.
Players investigating the job board can come here for follow-up info, clarification, or orders.
Staffing:
1–2 guards are normally present during the day.
4–5 guards are present during mission preparations or after high-alert reports.
Tower (Base)
You step into the base of the watchtower—a round, stone-walled chamber with a faint draft swirling through the open stairwell that spirals upward. A rack of weapons rests near the wall: spears, swords, and a crossbow, all clean and well-kept.
One door leads outside, while another opens into the adjoining garrison hall.
Weapons Rack:
Unlocked. These are the personal weapons of on-duty guards.
Contents may vary but typically include 1–2 spears, a longsword, and a crossbow.
Occupancy:
50% chance a guard is stationed here.
If not, they are likely in the Garrison Hall.
Exits:
One door leads to the outside courtyard is locked.
One door leads directly into the Garrison Hall.
The spiral stairs ascend to higher levels of the watchtower.
Commander's Station
The second floor of the tower opens into a round chamber filled with purpose. A heavy desk sits in the center, lit by a single flickering candle. Neatly arranged maps and notes are spread across its surface.
The room carries an air of command—decorated with well-worn military banners, a few polished weapons, and a subtle sense of order. Despite its official nature, there’s a personal touch here: a folded blanket on a chair, a sealed letter tucked beside a blade.
Primary Use:
This is Captain Eliander Fireborn’s private command post. He plans operations, updates logs, and coordinates with Saltmarsh’s defense here.
50% chance he is present during the day. If not, Sergeant Tomas Rios is likely reviewing reports or preparing orders.
Secret Meetings:
Fireborn uses this room for private and strategic discussions, particularly when dealing with confidential matters such as the King’s business or sensitive military operations.
The chamber is intentionally chosen for its elevation and privacy—conversations held here are less likely to be overheard.
Recurring Visitor – Kraddock:
20% chance that Kraddok Stonehorn, Fireborn’s old friend and confidant, is present during one of these meetings. He may bring updates, strategic advice, or personal counsel.
Room Contents:
Central desk with regional maps, tactical notes, and expedition drafts (some linked to recent sightings or rumors).
A few symbols of rank and well-maintained weapons rest against the wall—visible signs of command but practical in nature.
Players searching the desk may uncover mission hooks, strategic priorities, or evidence of covert actions (e.g., scouting reports from Burle, coded letters from the capital).
The Watch
The wind whips around you as you step onto the uppermost level of the tower. From this height, the land stretches in all directions—wild and vast. A lone guard stands at the parapet, one hand resting on a spyglass, the other shielding their eyes from the breeze.
They scan the horizon with quiet focus, occasionally adjusting their angle or muttering a quiet note. With the elevation of the cliff and tower combined, the view is unmatched—this is where Saltmarsh keeps its eyes on the wild.
Views from the Watch
South – The Kingfisher River widens below, curving beneath Sharfin Bridge before spilling into the Javan Bay. The rooftops of Saltmarsh village are visible along the southern bluff. On clear days, you can see the shimmer of the bay beyond.
North – The Kingfisher River continues inland, paralleled by the road to Burle. Far to the northeast, the ominous Dreadwood rises in dark waves. To the northwest, the crooked trees of the Drowned Forest mark its marshy border.
West – Beyond Saltmarsh’s walls and city gate, the land rolls gently before giving way to the vast, misty Hool Marsh. On its edge stands the distant silhouette of the ruined Tower of Zenopus, half-swallowed by fog.
East – A patchwork of farmland and rolling hills stretches toward a small forest. You can make out the Saltmarsh Cemetery and, just beyond it, the Temple of Procan, its steeple rising like a solitary mast.
Guard Presence:
One trained lookout is always stationed here 24 hours.
They carry a spyglass and can answer basic questions about visible landmarks, movements, or changes in the terrain.
Observational Utility:
This is the best location for general orientation or planning expeditions.
With a spyglass or successful Perception check, characters can spot:
Unusual weather over the Hool Marsh
Distant fires or movement near the Drowned Forest
Smoke columns from a ruined camp near the Burle road
Ships far off on Javan Bay
Skill Checks (Optional):
DC 12 Wisdom (Perception) – Spot significant terrain features
DC 15 – Identify movement or unusual patterns (e.g., smoke, boats, tracks in clearings)
DC 17+ with spyglass – Pinpoint smaller details (e.g., banners, encampments, hidden trails)