
Welcome to Stormwreck Isle, a small island in a region called the Sword Coast. Legends say the captive rage of the red dragon Sharruth formed Stormwreck Isle. Whether or not this is true, the land is scarred from ages of battles between the chromatic and metallic dragons. These days, the cloister of Dragon's Rest has tried to put aside those days of conflict and serve as a refuge from violence, making it a perfect spot for those looking for such serenity. The temple doesn’t draw many visitors, but those seeking peace in a chaotic world may find themselves searching for this oasis. But as much as the sanctuary and its gentle leader Runara encourage harmony, the vicious world around it is loath to let it rest unhindered. Threats of all shapes lurk in the reaches of Stormwreck Isle....

Session 1: Arrivals
On a peaceful, sunny morning, a ship docks near Dragon's Rest, carrying four unusual passengers with their own reasons for journeying to Stormwreck Isle. Among them are Marcus, Zephari, Arlos, and the inseparable duo Callie with her badger Puffle. As they arrive at the monastery, they leave an unforgettable impression on its inhabitants and set out to help the humble folk living in and around the temple.
Their arrival signals the start of a new adventure as they set out to assist the island's residents. Guided by whispers of the wind and the call of exploration, they investigate a recent shipwreck, hoping to uncover the truth behind sightings of undead sailors haunting the shores.
Their journey takes a surprising turn when they're ambushed by chromatic kobolds. Yet, the heroes swiftly (and devastatingly) dispatch their attackers with impressive skill. In the midst of the skirmish, secrets about the island and their companions come to light, adding depth to their unfolding tale. As they continue forward, the path ahead remains uncertain, promising both new discoveries and challenges along the way. Who knows what way this story will unfold?
Our heroes manage to get rid of a few undead on the beach, already gaining a standing amongst the inhabitants of Dragon's Rest.
The group arrives at the Monastery and meet Elder Runara, brother Tarak, sister Varnoth and a group of unusual copper-like kobolds. They discover the temple is dedicated to Bahamut, the Platinum Dragon. Some of the inhabitants seem to have a history they'd rather not speak of.
They are directed to do two main things:
Solve the situation with the recent shipwreck (named the Compass Rose)
Investigate a cave on the other side of the island for health-potion ingredients and to make contact with the local Myconid population
The group is ambushed by a group of kobolds. The swiftly take care of these wannabe bandits. Interrogating the survivors the group learns about potential draconic influences on the islands.
To the south there is an abandoned ruin where the chromatic kobolds originated from.
The kobolds are forbidden from speaking about what is going on and they seem antagonistic towards Elder Runara and her flock.
Marcus learns that he might be under influence of a metallic, draconic entity.
Zephari learns that the One who she made a deal for her brother with is relishing in bloodshed and violence.
After dealing with the kobolds, the group travels towards the remains of the Compass Rose. They narrowly evade death whilst climbing down the cliffs surrounding the coast.
The ship seems to have been carrying a rather valuable cargo, which the group shares amongst themselves.
The group takes care of a number of undead and even manage to arrange for a deal with a harpy that made her nest in the ship's mast. They have a day before they must return and proclaim a song about the harpy, otherwise she'll hunt the group down.
Amongst the treasures of the shipwreck, they discover that one of the passengers made a deal with a dark force, most likely leading to the crash of the vessel and the spawning of the undead. They gather that they must bring a talisman of hair to the top of the cliff, near the monastery.
The group decides to travel towards Dragon's Rest, to recuperate.
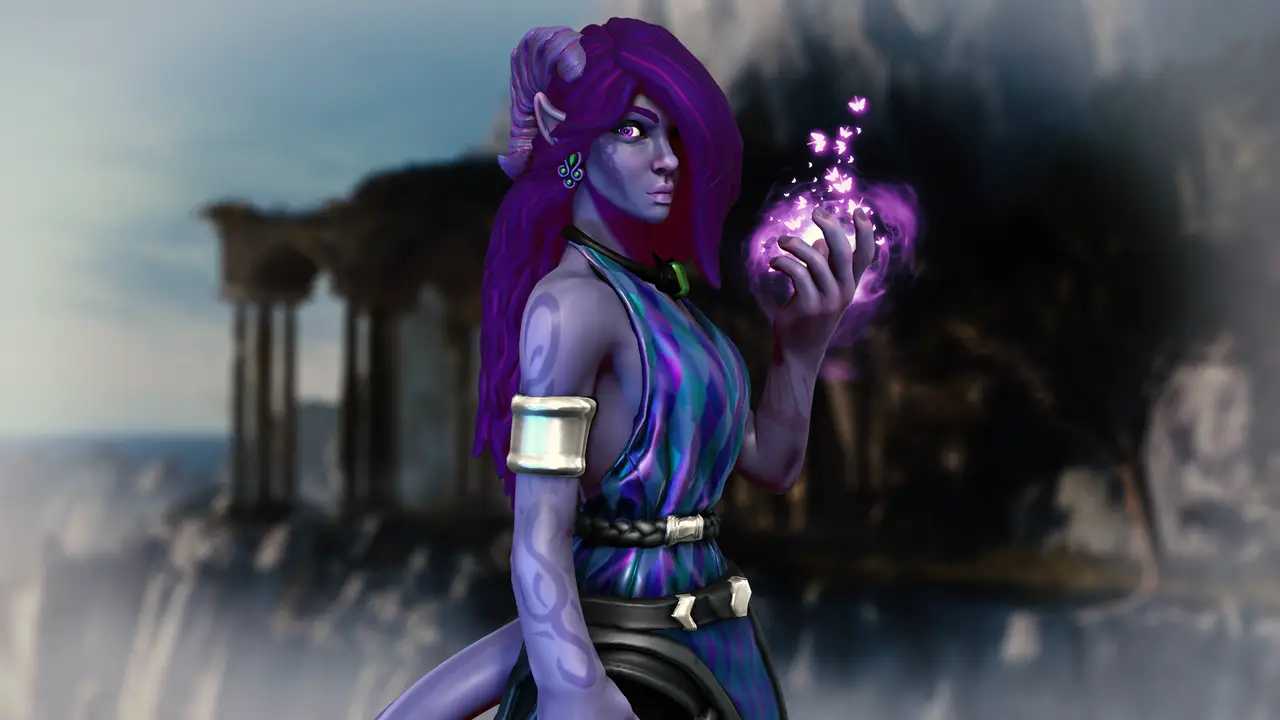
Session 2: Partnerships, Pacts and Paths to Choose
As the group slowly advances toward Dragon's Rest, nursing their wounds, they come to realize that Lady Runara's tale might just scratch the surface of what's truly happening on the island. Complicating matters, they're still haunted by the looming threat of a harpy's vengeance if they stray from her demands. And then there's the cursed talisman, responsible for the tragic demise of the Compass Rose and its crew, lurking as another challenge they must confront.
Upon reaching Dragon's Rest, the weary group reunites with the locals, sharing their harrowing journey thus far. A comforting meal of mushroom soup and some much needed healing from Tarak sets the stage for a discussion with Lady Runara about the unfolding events. Later, as the four heroes retire to their chamber, they delve into their emotions regarding their predicament, each slipping into slumber to confront their own significant dreams, some pleasant, others tinged with nightmares.
With the dawn, the group begins their day, consulting with the monastery's residents. Sister Varnoth proves invaluable in readying them for the inevitable harpy confrontation, while Brother Tarak steers them towards the Seaside Caverns. Lady Runara, enigmatic as ever, imparts cryptic wisdom before bidding them farewell. Their journey to the caverns uneventful, they encounter a guardian whom they manage to placate.
Upon rescuing a handful of Myconids, they learn of their leader's grave illness, realizing that only they possess the potential to remedy the situation. Thus, they stand on the edge of aiding the friendly fungal folk and delving deeper into the island's enigma.
The group continues their adventures on the Stormwreck Isle.
Having solved the situation with the shipwreck, they're now confronted with two nasty side-effects:
Handling the necromantic talisman.
Dealing with a harpy potentially hunting them down. Arlos is trying his best bardic self in fixing up a nice song to placate the creature.
Lady Runara's library holds a lot of knowledge. She, however, remains cryptic and vague about what is really going on.
The group learns of a fancy display cabinet with particularly valuable and fragile tomes. One of which speaks to Marcus.
Kobolds are apparently not too bright. Lady Runara frowns upon extreme violence, even towards chromatic ones.
Near the ruins in the south there is a camp of kobolds, red ones, that have been an issue for a while now. She also mentions other vistors and even bandits that land on other areas of the island. Marcus wonders and figures that Lady Runara is not saying the truth yet, fully. The others agree, but choose not to confront now.
Arlos picks up a fancy book on Bardcraft
Callie gets a book on the island's history and geography.
Zephari learns that her skintone is unusually rare, even amongst the Tieflings.
Brother Tarak helps them fix up their wounds and feeds them a nice bowl of mushroom soup. Sharing their histories the group grows closer to Tarak als he divulges some of his own shady past. Even Marcus raises a little in standing with him. He does mention sending out some birds to learn more about the brother of Zephari. Who knows what he may uncover?
To recuperate a little, the group takes a short break of fresh air at the beach.
Callie and Arlos bond over creating a tune for the Harpy.
Zephari has a close encounter with her patron. It leaves her chilled to the bone.
After returning to the sleeping quarters each member of the group has a dream, related to their position in life.
Arlos dreams of his old life, where he and his friends would attempt a burglary. It takes a dark turn as the victim, when confronting Arlos with a choice, makes it for him. Twisting a knife in his old friend and this Elderly Man pushes Arlos to leave behind the past...
Callie has an utmost pleasant dream of nature. It comforts her and she finds a deeper connection with Nature and with Puffle, with whom she may now freely communicate. They sit and stare at the sunset together.
Marcus awakes in his personal Rock Palace. There he is confronted by a Bronze Dragonborn. It turns out to be his patron, pleased with the results so far. He explains, arrogantly, that Marcus has been a good boy and that with a few more gifts, he might be more effective. There is even a little gift for later, an egg... Marcus wonders what might come out of it. He also learns the name of his patron: Alexandrox, also known as Xander. His name appears in Runara's Library.
Zephari has a nightmare. It seems her patron tries to comfort her at first, with a wintery scene, but later shows Their hand... Revealing that They have Zephari on a leash and demanding her to continue her violent streak, otherwise she might lose her ability to see her brother ever again. ...the very same brother that this Fey Being seems to have leashed as well. This Being demands her obedience and hints that They might even turn her brother against her, if she does not follow through with Their plans.
After a rather harrowing night for some, the group has a decent breakfast and plans their next moves.
Sister Varnoth helps them, giving them a few extra-pointy arrows for dealing with the Harpy. She also offers to fix up Marcus' armor. Furthermore, she collects a 'small' fee from the group, to cover any costs of their stay so far.
Brother Tarak sends them on their way, warning them that it might be a difficult situation. His offering is still with the group.
Lady Runara is a little more direct in her instructions and suggests that after helping Tarak with his ordeal, she might be able to help the group further.
Travelling towards the Seaside Caves was uneventful. The group pacifies a guardian Octupus and encounters the Myconids.
After saving a few from violent purple fungi, the group learns through telepathic messages that their leader Sinensa is injured and ill. Only the group may solve this, by going into a cave reeking of sulphur.
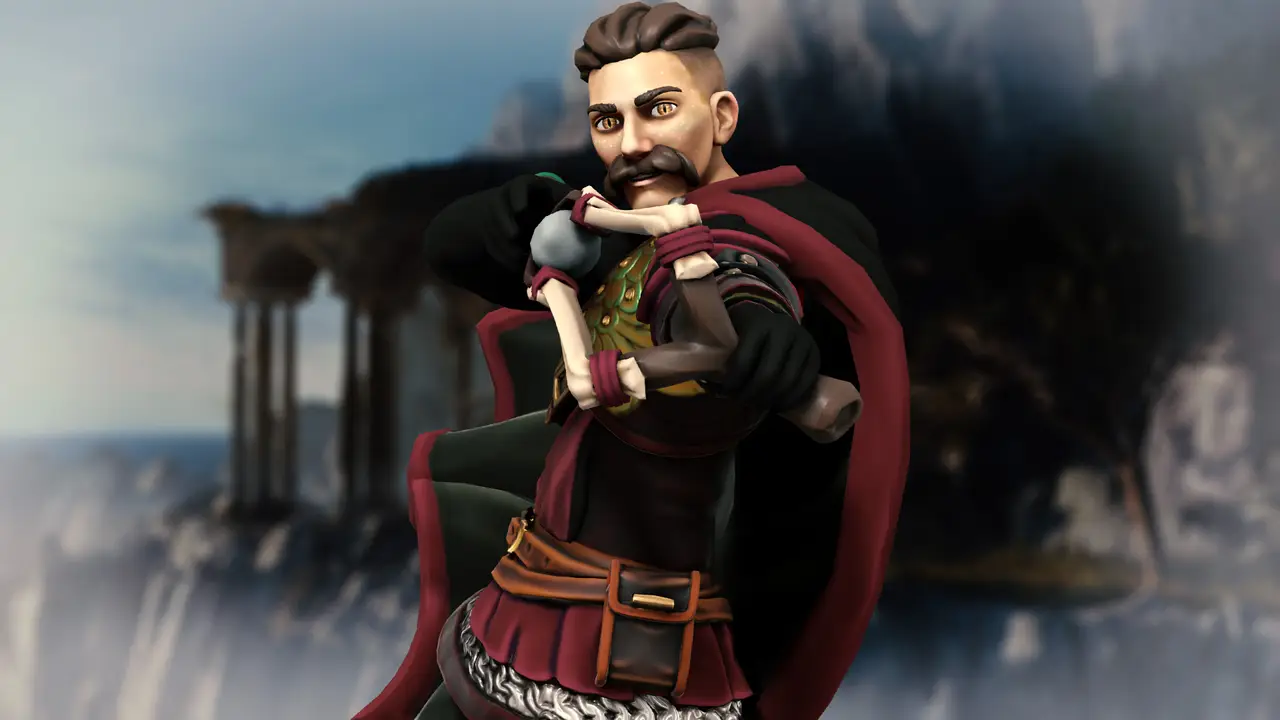
Session 3: Fungi & Flames
After a brief respite, our heroes gather their resolve, their minds still pondering the plight of the Myconids. With determination in their hearts, they steel themselves to venture forth. Entering the cavern where the ominous 'blight' originated, they find themselves enveloped in a dense fog, obscuring their vision. Yet, amidst the gloom, the shimmering glow of crystals provides some guidance.
Their progress, however, is hindered by the sudden onslaught of Fume Drakes, lurking in the depths of the Seaside Caves. Despite their best efforts, the group finds themselves embroiled in a fierce battle. Amidst the chaos, they finally lay eyes upon the source of the blight: a vibrant orange egg nestled upon a volcanic vent. In a grueling struggle, they face not only the ferocious Fume Drakes but also the fiery emergence of newly hatched Fire Snakes from the egg. Yet, through perseverance and teamwork, they emerge victorious.With the threat quelled, they discover a solution: blocking the volcanic fumes permanently, sparing the Myconids from further harm.
As the day draws to a close, the group reflects on their journey, their minds buzzing with newfound revelations. And as Sinensa, the Myconid leader, awakens, the tale takes a new turn, revealing odd details about Runara and the purpose of the island.
The group manages to successfully deal with a tough encounter, resulting in removing the immediate threat to the Myconids.
Through working together with the Myconids they permanently block off the volcanic vent.
Lady Sinensa, having awoken from her illness, communes to the group some details about Runara, that she may not have wanted the group to know.
The group plans to head back to Dragon's Rest to confront Runara and find out the truth about this island.
A package of glowing red mushrooms are collected, enough for 5 healing potions. Callie has these.

Session 4: Secrets of the Island
The group gathers themselves after successfully addressing the threat to the Myconids in their last session. Uncertain of their next steps, they realize there is more to the situation on the island than they initially thought. Taking the rowboat back to Dragon's Rest, they spot a blue flash across the sky, revealing a young blue dragon. This sighting alarms the group and heightens their suspicions about Runara and her connections to the dragons.
Recognizing the need to confront Runara, the heroes decide to rest first. Upon arriving at the docks, they encounter two strange kobolds. Vague and unconvincing, the kobolds attempt to guide the group to Lady Runara. Eventually, one kobold flees, leaving the other, named Blepp, to confide in Marcus. Blepp reveals that two winged copper kobolds have deserted Dragon's Rest and joined a group of red kobolds near the ruined observatory.
Following this puzzling encounter, the group meets Tarak, who is preparing dinner. They exchange ingredients gathered during their adventures and discuss Runara's mysterious nature. As they rest, dinner is served, and General Varnoth, loosened by a few ales, inadvertently shares insights about Runara, the winged kobolds, and the island's secrets.
After dinner, the group discusses these new details and heads to General Varnoth's blacksmith to pick up a few items for their journey. Another conversation with Varnoth directs them to Lady Runara. Despite their exhaustion, the group decides to speak with Runara to address the many puzzling details they have uncovered.
Runara, appreciative of the group's help and loyalty, decides to confide in them. At the open-air temple of Bahamut, she dramatically reveals her true form as an ancient bronze dragon. She explains her purpose on the island, the founding of Dragon's Rest, and the current threat. A blue wyrmling named Sparkrender has taken residence in the old observatory, seeking to harness the island's magical energies to restart the ancient dragon war between Chromatic and Metallic dragons. Runara, bound by a vow of non-interference, urges the group to deal with Sparkrender. She also reveals that a bronze wyrmling named Aidron, who attempted to intervene, has gone missing. Runara pleads with the group to find Aidron and eliminate Sparkrender. The group agrees to undertake this mission.
Afterwards, the heroes share a quiet moment by the beach. Stealing a bottle of fine wine, Marcus, Zephari, Callie, and Arlos discuss their feelings about recent events. They return to their chambers and drift off to sleep, each experiencing significant dreams related to their personal goals.
Zephari encounters her patron, Fyraexis, who explains their reasons for choosing her and her brother. Fyraexis shows her a glimpse of her brother but prevents a full reunion, emphasizing the need for Zephari to deal with Sparkrender through violence, granting her additional power to ensure success. Arlos dreams of a future filled with comfort and wealth, where he is greeted one last time by an aspect of Bahamut. The deity compliments Arlos and gently encourages him to choose his own path, suggesting that his future might allow him to help those he loves. Marcus meets Xander, also known as Alexandrox, in a heartfelt conversation. Xander confirms what Runara told Marcus and shares that Marcus's great-grandfather, Rodrick the Red, was also a patron of Xander. The egg in the dream hatches, and Xander reaffirms his support for Marcus. Callie finds herself in a comforting meadow with Puffle. A beautiful red-haired lady, an emissary of Sune, appears and assures Callie that her prayers are being answered. She suggests a non-violent approach for the final confrontation, granting Callie additional power before the dream fades.
The group awakens and prepares for the day. Joined by Maxwell, a small bronze dragonling, and a transformed Puffle, now a large owl, they share their new powers and dreams. United and resolute, they face the challenges ahead with renewed determination.
The group arrives yet again at Dragon's Rest.
They share their collected ingredients with Tarak, who is appreciative of this.
Tarak shares some details about Runara and her mysterious ways.
During dinner the group meets up with General Varnath, who also shares a few details about Runara and her mysterious actions, whilst also sharing some information regarding the missing kobolds.
Runara is confronted by the group. She now shares the true nature of the mission.
Runara is an elder bronze dragon, that declared a vow of non-interference.
Runara and Alexandrox were in disagreement on this, leading to the latter being banished to a demi-plane.
Runara knows of a blue Wyrmling named Sparkrender, who is trying to acquire magical powers of dead dragons on this island.
Sparkrender has a base of operations at the ruined observatory.
A group of red kobolds join him, together with two run-aways from Dragon's Rest.
Aidron is a bronze wyrmling who defied Runara and tried to stop Sparkrender. He is now captured there.
Runara insists the group joins up with Aidron, to stand a chance against him.
After this encounter, the group meets up at the beach, where they have a moment of quiet recollection.
Each of the group members has a revealing dream, setting them up for the confrontation with Sparkrender, tomorrow.
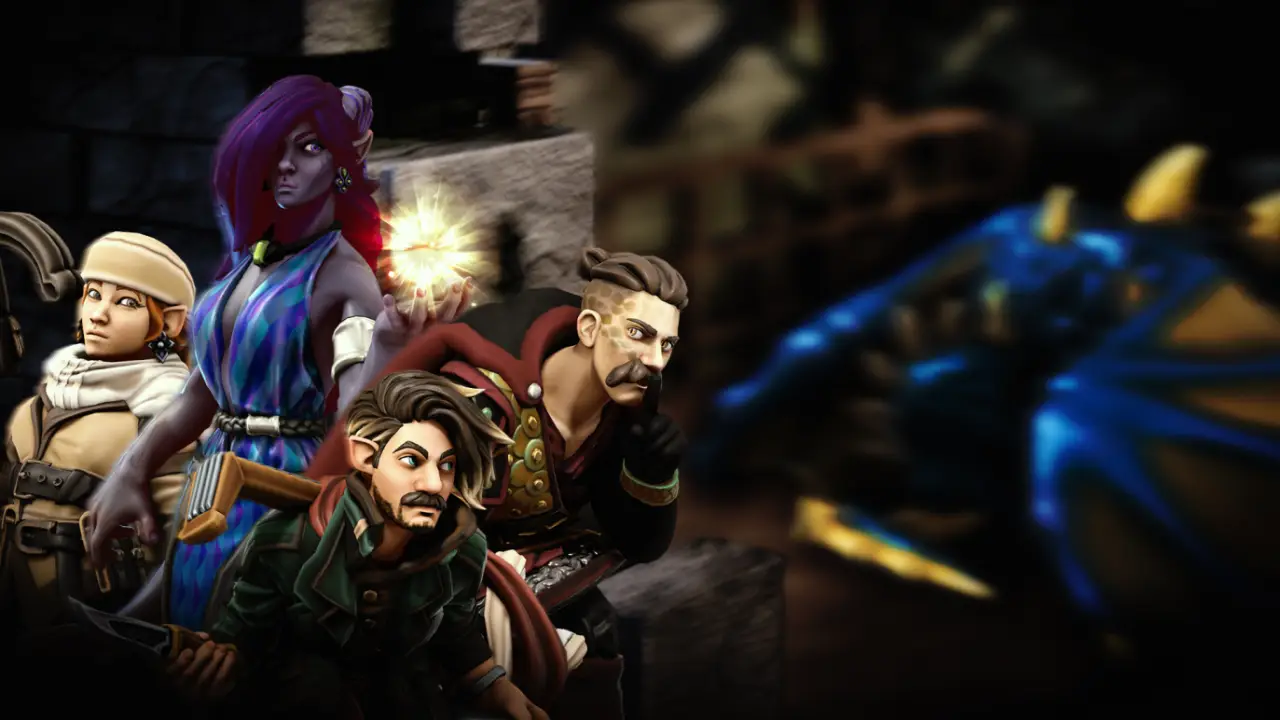
Session 5: Travel to The Observatory
The group awakens in the morning, ready to start their journey to the ruined observatory at the southern point of the island. They head to the dining hall for breakfast, where they discuss their plan and the current situation. The loose end involving the harpy is mentioned, and they prepare to deal with her as well.
After gathering a few supplies, they set out. As they travel, Puffle, scouting from the air, warns them of the approaching harpy. The group quickly sets up an ambush, hoping to surprise her as she flies over. Soon after, the harpy swoops down and kills a deer, likely for her breakfast. The heroes spring into action and, with magic and arrows, swiftly eliminate her. They are a bit surprised at how quickly the beast goes down and collect a few items from her body for possible crafting.
After the swift encounter with the harpy, the four heroes continue on their path. A few hours later, they hear shouting and screams up the road. Once more, Puffle alerts them to danger. They discover a few kobolds in trouble, ambushed by a group of wandering undead. Two kobolds have already fallen, and one remains, desperately trying to survive. The adventurers charge forward and manage to eliminate the undead. They speak with the surviving kobold, named Rixx, and convince him to join their cause.
After helping Rixx bury his friends, the group continues their journey to the observatory. Hours later, they reach a cliff edge, where the observatory rises perilously from the waves on spires of rock. Realizing there are no bridges to the crumbling building, they remember the marble key they were given. Using it, they create a bridge of mystical energy leading to the observatory. Crossing the bridge, they find two winged copper kobolds, Mek and Minn, working on rough effigies of draconic creatures. The heroes persuade the kobolds that they mean no harm and need to stop Sparkrender once and for all. The kobolds, convinced, decide to help. Along with Rixx, they convince the other kobolds to leave, largely due to discontent with Sparkrender's bossiness.
Exploring the crumbling observatory, the group finds clues to a hidden area. Finally, they discover the large dragon wyrmling, Sparkrender, sleeping in a beautiful room adorned with constellations made of precious stones and statues of wise old sages. What happens next remains to be seen.
The group awakes at Dragon's Rest.
They collect a few things, amongt them a few potions Tarak made.
Travel commences across the island.
The beginning of their journey is quiet and nothing unusual happens for a while.
Suddenly the group is warned by Puffle of an enemy approaching.
Swiftly the group eliminates the harpy and they collect ingredients from them.
Heading further up, the group finds unusual blue crystals, probably caused by Sparkrender's magical lightning.
Slightly later the group saves Rixx from his untimely demise at the hands of some remaining undead.
Rixx explains the discontent amongst the kobolds with Sparkrender and seems to be another unusual ally.
Heading up further, they encounter the observatory.
Through perilous actions, they eventually find Sparkrender asleep and attempt to open a hidden area beneath him.
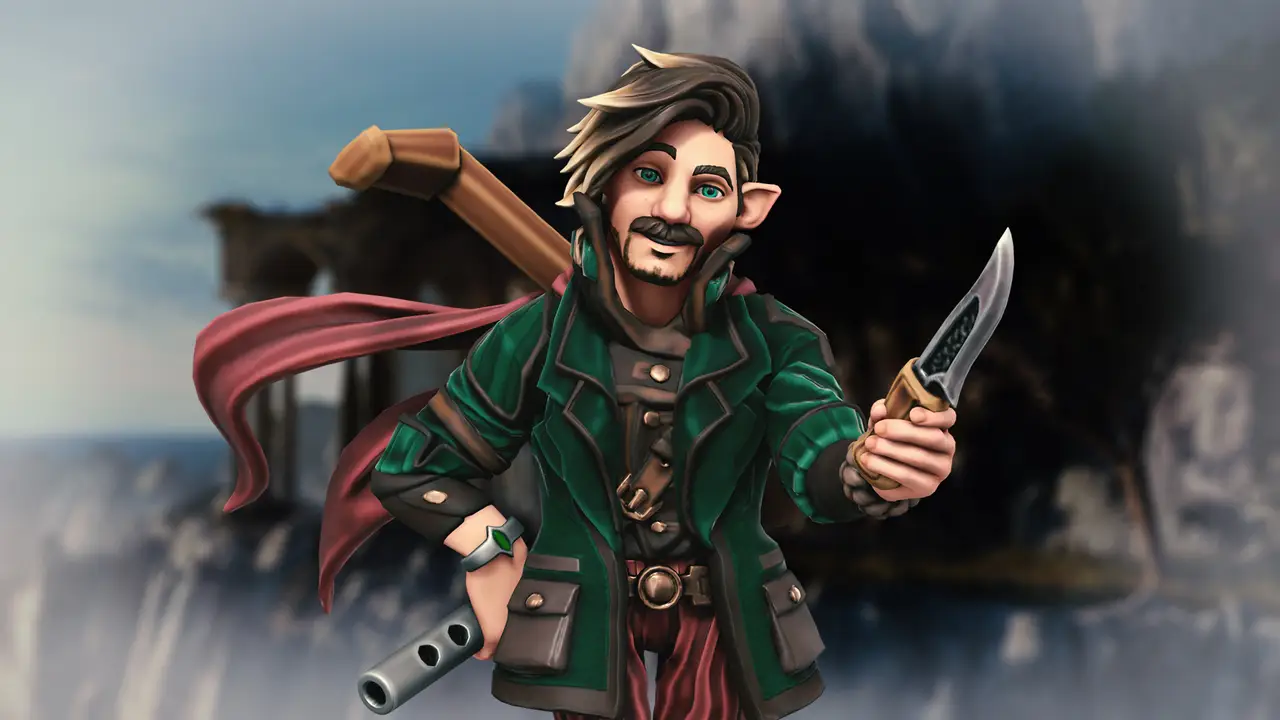
Session 6: Confrontations
We return to our heroes as they stand quietly in the Hall of Constellations, trying desperately not to wake Sparkrender. They have successfully opened the hidden entrance to the archives below. From the depths, they hear a whimper. Two noble heroes, Marcus and Arlos, approach the staircase, attempting to move quietly across the room. Marcus nearly wakes Sparkrender, but the group's efforts to lull the dragon back to sleep succeed.
In the archives, they find Aidron, the bronze wyrmling who tried to stop Sparkrender before the heroes arrived on the island. Aidron explains he was tricked and imprisoned in the hidden archive. Despite his injured wing, his resolve remains strong. He quickly forms an alliance with the heroes and points out a few valuable items.
Marcus, Arlos, and Aidron return topside and position themselves to strike at Sparkrender. They launch their assault, catching Sparkrender off guard. Injuring him severely, Callie binds him to the floor with magical vines, and Zephari's expertly cast whirlwind of daggers shreds his dragon scales. After a heated battle, Sparkrender is ultimately slain while attempting to flee to the ritual chamber, with the final blow delivered by Callie and Puffle.
Catching their breath, the group discusses the situation with Aidron and prepares to leave. However, they realize that others might attempt the same ritual Sparkrender sought. To prevent this, they decide to destroy the orrery. Though successful, they discover the orrery also powered the magical bridges, leaving them without an exit. Thankfully, some magical vines form a bridge.
At the cliff's edge, they encounter Zephari's mysterious patron, Fyraexis. Fyraexis places Zephari in an impossible dilemma, revealing why the arch-fey is involved with her and her brother. Zephari's mother made a deal with Fyraexis to protect her children, and her father stole a valuable gemstone from the arch-fey. Fyraexis used the deal to bind Zephari and her brother to their will, aiming to use them to find Malthor, their father. Reluctantly, Zephari strikes another deal with her patron: find her father and the gemstone to free herself and her brother.
After the unnerving encounter, Fyraexis erases the memory of the heroes, leaving only Zephari aware of the revelation. The group, wounded but determined, heads back to Dragon's Rest. They receive a reluctant welcome from Runara, who congratulates them and rewards them with valuables. The kobolds who served Sparkrender are given refuge, thanks to the insistence of the brave adventurers, particularly Marcus. In her mercy, Runara allows Zephari's brother to stay on the island and guides Zephari on how to possibly break free from her patron.
Sparkrender is defeated after a long and hard battle.
Zephari has been put into an impossible situation, as Fyraexis tricks her into agreeing yet again to a pact.
Runara reluctantly let's the kobolds live on the island and rewards the group for their effort.
Zephari's brother stays on the island, as the group decides that helping her seems to be an adequate goal for the near future.