
What is miniature painting, and why should I be interested?
Put very simply, miniature painting is the practice of decorating small-scale models for display and use in tabletop gaming. This hobby is a wonderful medium for creative expression and individuality, with the meditative, almost therapeutic rhythm of building and painting, being a great way to unwind and relieve stress.
However, there’s a wide range of tools and techniques involved, making it easy to get overwhelmed with miniature building and painting. Hopefully, this guide will serve as a springboard for you to begin your own mini painting journey. Reading on will help you find the tools you need to get started, some key skills and techniques for painting, as well as tips to avoid many of the common mistakes that can be discouraging to beginners.
What models should I buy?
The answer to this question depends on your personal interests. Maybe you are an avid tabletop roleplayer and you want to create a custom model for your favorite Dungeons & Dragons character. Maybe you’re interested in starting an army for a miniatures wargame like Warhammer 40K, Battletech or Star Wars: Legion, or you just want to colour characters for board games like Gloomhaven, Scythe, or Cthulhu: Death May Die. Wherever your interests lie, starting small with a single model or small group of minis, is the best place to start.
Besides any models you might find inside board games, most popular fantasy and sci-fi universes have lines of models you can easily find online or at your local game store, including WizKids’ expansive Dungeons & Dragons. Some of our our favorite smaller miniature creators include ArtelW, Loot Studios, Creature Caster and Greytide Studio.
How do I build and prepare a model?
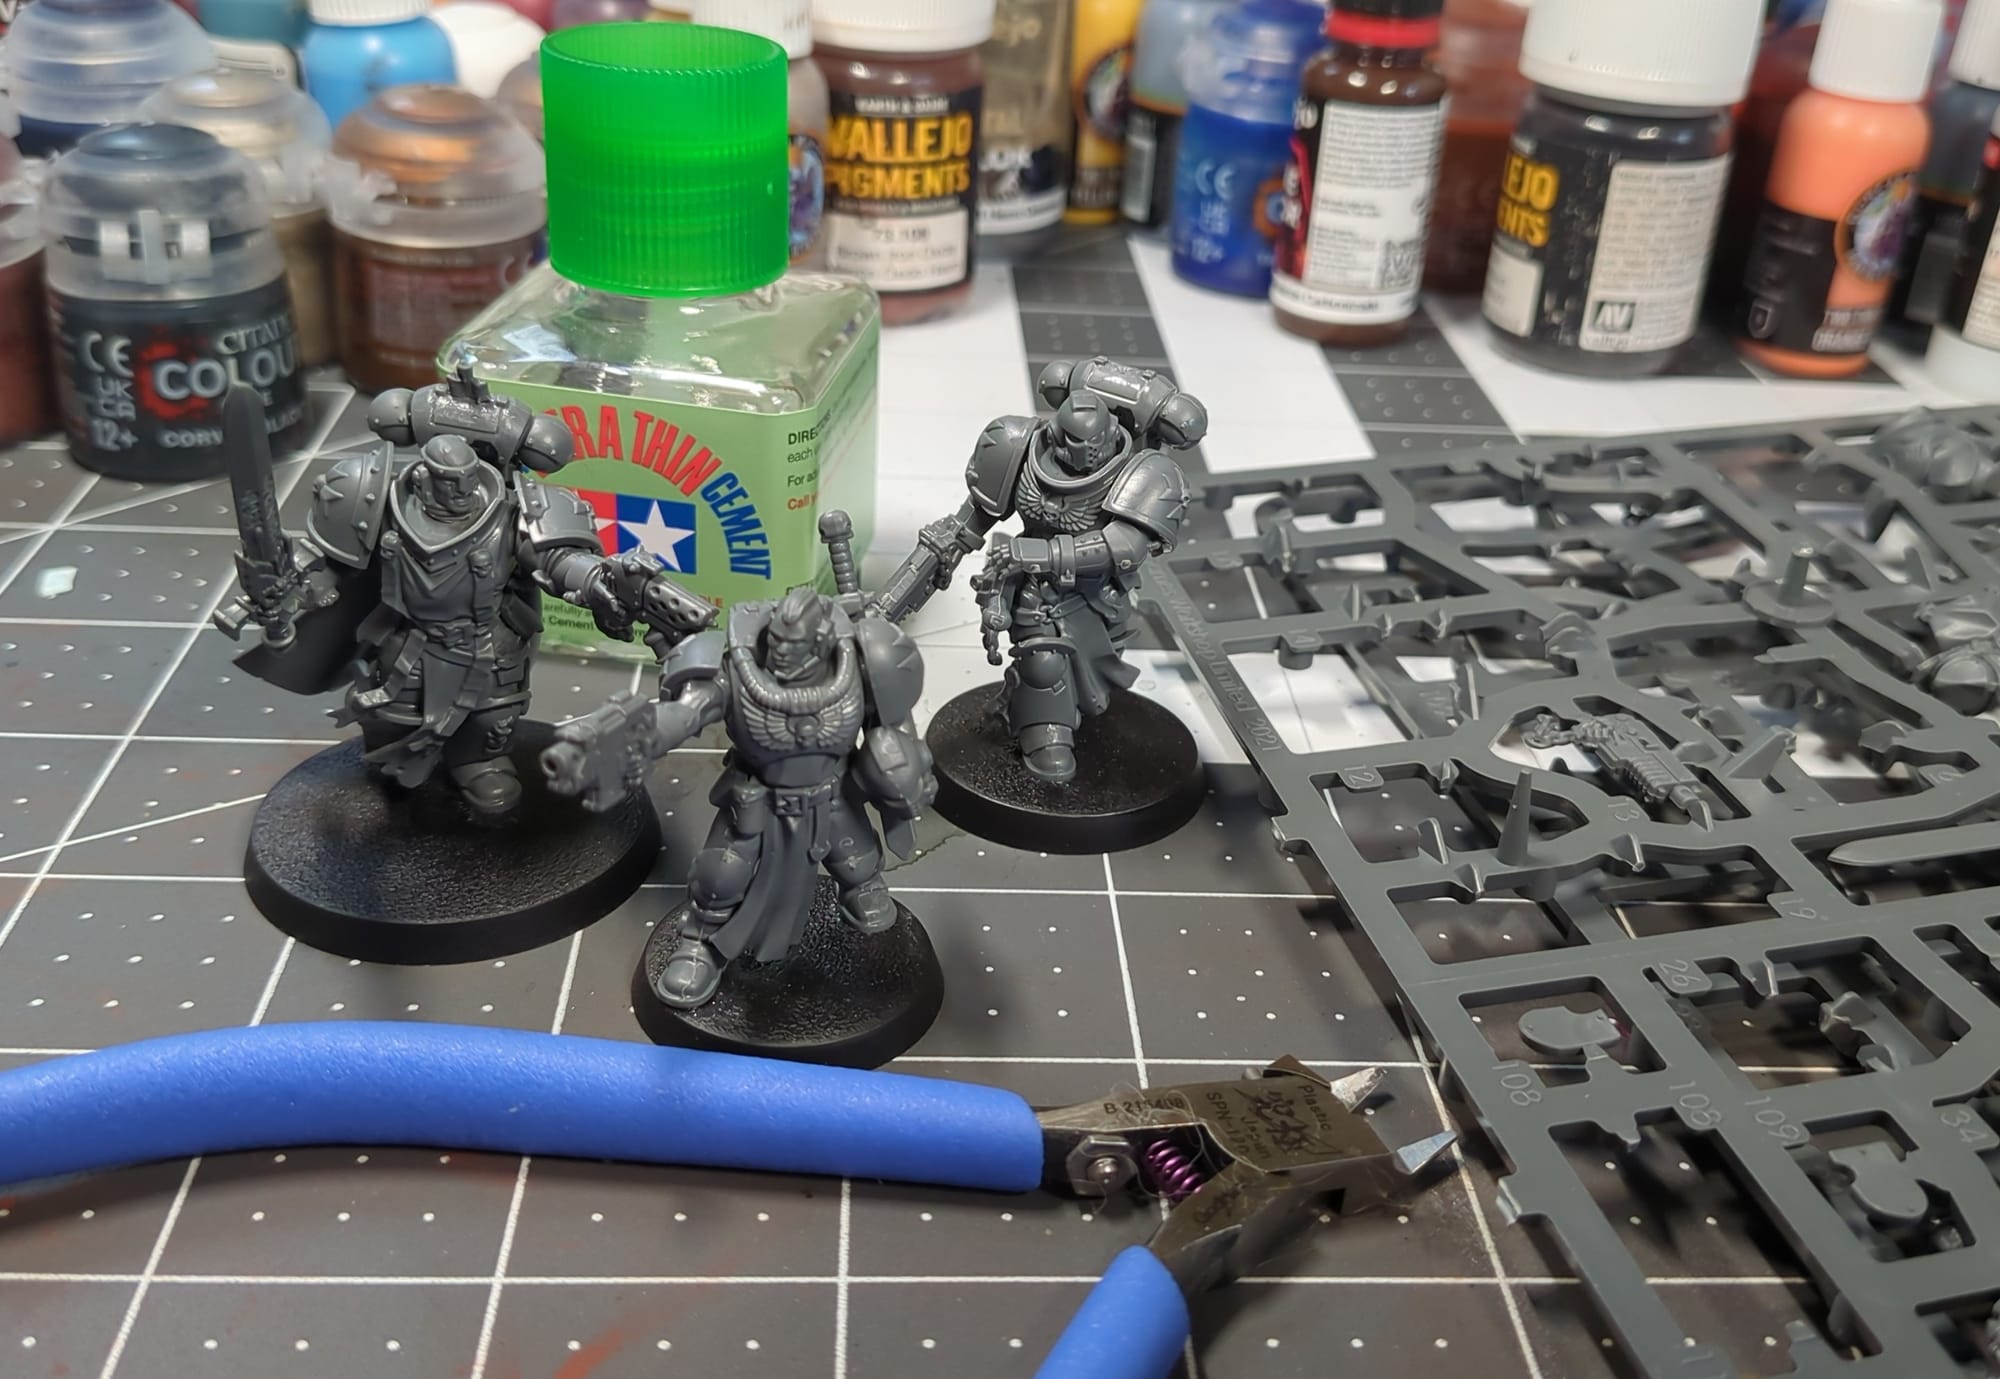
If you do find yourself with a model that comes un-built, have no fear - the process is straightforward. Get yourself a pair of cutting pliers - ideally ‘sprue nippers’ designed for models, but any small set of sharp pliers with a flat edge will do - a hobby knife, and some glue. Next, identify if your model is plastic or resin. The material should be clearly stated on the box or in the product description, but if not there are still ways to tell. If your model is more than ten years old, or if it came from a 3D printer, odds are it’s made from resin. Resin is more brittle and fragile than plastic, but so long as you handle it with care you’ll be fine. Most major modern gaming companies produce plastic figures these days, which we recommend as they are more durable and easier to work with.
If your model is resin, you’ll want to rinse every part of the model in warm, soapy water to help wash off any residual chemicals that can stop paint and glue from sticking properly. If it comes in pieces, just use super glue to secure them together.
If your model is plastic, then you shouldn’t worry about cleaning it. However, it will likely come out of the box on a “sprue”, a plastic scaffolding that keeps the pieces of the model protected during transport. We recommend having a pair of clippers and a hobby knife on hand to remove the pieces cleanly from the sprue - if you try to twist them off with your fingers, there will likely be unsightly nubs of plastic left behind on the model. After you clip the pieces off the frame, use the sharp edge of your hobby knife to carefully remove any nubs or blemishes not fully removed by the nippers. You can use super glue to build plastic models, but plastic cement is recommended as it fuses the pieces together by chemically melting the plastic to create a stronger bond.
Your plastic model will also probably come out of the box with ‘mold lines’. These are tiny seams of raised plastic which are a by-product of the casting process. My personal process for removing these lines is to carefully and gently scrape the sharp edge of a hobby knife across the seam, holding the blade perpendicular to the model. After the lines are removed and any plastic ‘dust’ is wiped off, I apply a very light, thin layer of plastic glue across the seam to melt the plastic and remove any tiny scrapes or scars on the model.
What do I need to start painting?
Before you start putting paint to plastic, there are a few key supplies you should consider picking up.
First, brushes. Honestly, these don’t matter nearly as much as you might think. . Synthetic brushes can be bought in bulk for cheap, and they’re more than enough for any beginner or even advanced painter.
A wet palette is nice, but not necessary to start with. You will want some kind of surface to mix and thin paints on, but any strip of plastic or cardboard will do. You will also want a cup of water with just a dash of dish soap in it to clean your brushes as you go.
Advice on Caring for Your Brushes
If you don’t take proper care of your brushes, they’ll quickly start to degrade. You’ll be frustrated by the impact a poorly maintained brush has on the quality of your models. Here is some advice to keep your brushes happy, healthy and pointy.
You only ever need paint on the tip of a brush - never dunk the entire thing in a paint pot, and don’t store them facing straight down or straight up. Storing them either face-down or face-up will quickly destroy the shape of your brush. Between the bristles and the handle of the brush is a metal band called the ‘ferrule’, if dry paint gets stuck up there your brush will start splaying out and lose its point forever. Rinse and wipe off your brushes between every coat, and store them horizontally. Grab a little brush soap or conditioner if you’re feeling fancy, or try a soak in isopropyl alcohol if your synthetic brushes start getting crusty. However, don't soak sable brushes in alcohol - they’re made from real hair, and they will be ruined!
What kind of paint should I use?
Short answer: acrylic. Inks and oils have their place in an experienced modeler’s collection, but a beginner’s money is much better spent on a good set of acrylic paints. However, we would recommend against the artists’ acrylics you’d find at your local craft store, as they lack the durability and vibrancy of better hobby-grade paints.
Layer Paint
Regardless of the techniques you choose to apply, acrylic layer paints will be your most common tool. In terms of hobby-focused paint brands, you have plenty of options to choose from. The Citadel paint line by Games Workshop - the creators of Warhammer - is by far the most well-known and they’re a very good place to start. They’re also easy to find, at least in the US and UK. They’re great quality paints, but are held back by their bottle design. Rather than the classic ‘dropper bottle’, Games Workshop opts for a lidded pot that is prone to spillage, clogging, and premature drying. If you have the patience to transfer your Citadel paints to dropper bottles, you’ll have an excellent collection on your hands.
Another powerhouse in the miniature paint industry is Vallejo. Dropper bottles mean no spillage or drying in the pot, and the color variety and vibrancy are the best on the market. In addition to offering every color under the sun, they also compete with Citadel in terms of versatility, offering adjacent products such as primer, inks and metallics. The only downside of Vallejo is availability - Vallejo is manufactured in Spain, meaning anyone east of the Atlantic will likely have an easier time sourcing their collection. That said, there are plenty of Vallejo sets readily available on Amazon that will make a great start to your collection. We recommend their Model Color line in particular.
Other alternatives are The Pro Acryl line by Monument Hobbies and AK Interactive’s paint collection. Pro Acryl has a more limited selection, but what they lack in quantity, they more than make up for in quality. Their metallics are excellent. AKI’s range, while a little harder to work with, especially through an airbrush, are unparalleled in terms of opacity and vibrancy.
Washes and Metallics
Even for a beginner, your collection won’t be complete without a few more accessories: namely, washes and metallics. “Washes” may also be marketed as ‘shades’ or ‘glazes’. Washes are referred to by many as “liquid talent”, due to the fact that a single, easy-to-apply coat will add depth and shading to your entire model.
Metallics are acrylics mixed with reflective flakes and are quick and easy to apply and provide great results for little effort. For both shades and metallics, we recommend Citadel. An honorable mention to Vallejo Game Color and The Army Painter for metallics.
Contrast and Speedpaints
Contrast paints, also called ‘speed paints’ or ‘express paints’, these were pioneered by Games Workshop and are designed to paint a model in a single coat. Base the model in a coat of white or gray, slap the contrast on and boom, your mini is finished. While very convenient, there is a limit to the quality you can achieve with contrast paint alone. I recommend Citadel Contrast Paints or Vallejo Xpress Color. If you want to improve as a painter long-term, we suggest traditional acrylics.
Buy a black wash and a brown wash for easy shading, and a few metallics for those swords, guns and helmets. Grab a few Contrast paints from Citadel to have on hand for when you need to paint a bunch of models in a hurry. You can find almost any of these paints online, but we recommend looking around at your friendly local game stores.

Primer is a base layer of paint designed to adhere to such surfaces and provide a foundation for you to layer color onto. A white undertone will lead to a slightly more vibrant miniature, but will require much more layering to cover it up. A black undertone will make your model less bright, but will also shade itself somewhat thanks to the already-dark recesses. You can also choose a primer that is the base color you want for your finished product, which can be useful for mostly mono-colored models like a space marine or gundam. Any brand of primer will do, but we recommend sticking with hobby-focused brands like Vallejo or Citadel.
Prime your models outside, and wear an N95 mask at the very least - preferably a respirator. While acrylic generally isn’t toxic, that doesn’t mean you want fumes lingering in your house or your lungs. Shake the can vigorously for at least two minutes, and make sure it doesn’t get too cold. Spray in short bursts until the whole model is covered, let it sit for about ten minutes and you’re ready to paint.
How do I paint a model?
Before you begin, keep in mind that this is a pretty forgiving hobby. Don’t stress, and don’t be hard on yourself. There will come a time with every model where you’ll be convinced that you’ve ruined it.
Trust in the process, see it through to the end, and you’ll surprise yourself. There’s going to be trial and there’s going to be error. Every mistake is another step on the way to becoming a better painter.
Thinning Paint
It’s important to know that your layer paint should never be used straight out of the pot. Always thin your paints at least 1:1 with water - that means loading your brush with paint, placing it on your palette, then mixing in an equal amount of water with your brush. You don’t want the paint to be goopy or clumpy, but you also don’t want it to be so thin that it recedes into small droplets when you drag your brush across the palette. Thinning paint isn’t too complicated, but it may take you a while to learn the ‘feel’ of properly-thinned paint.
Layer Painting
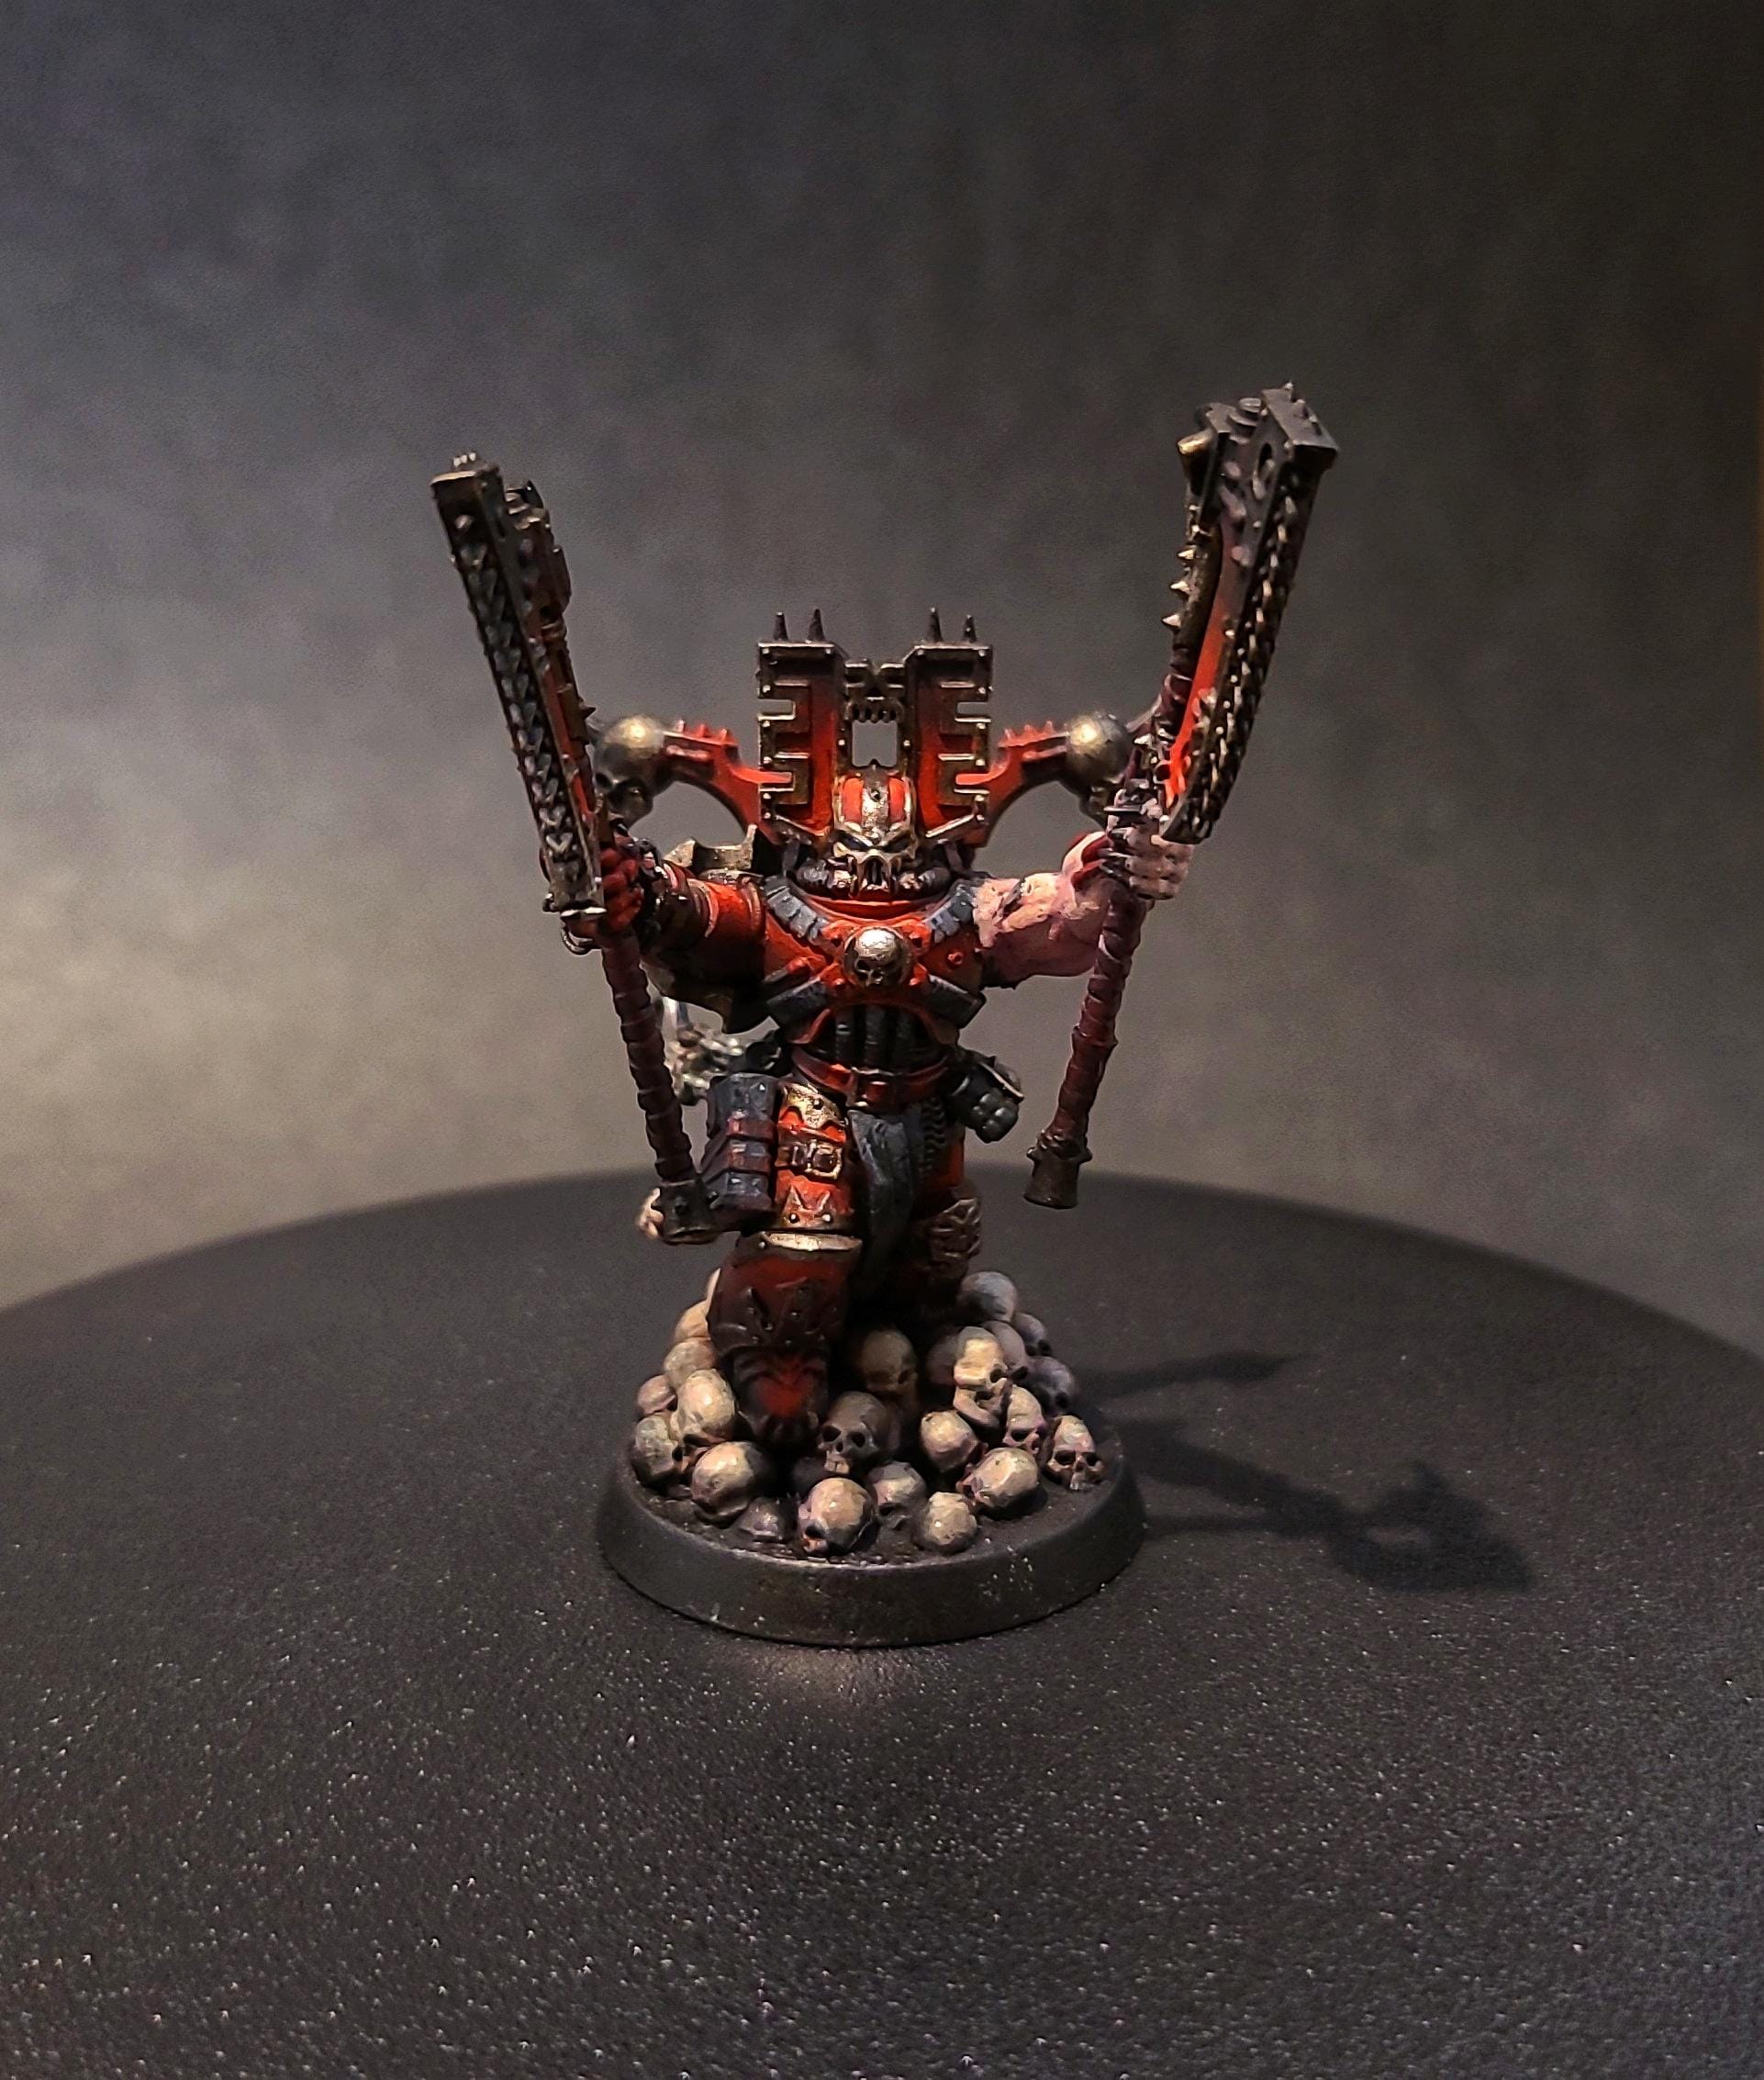
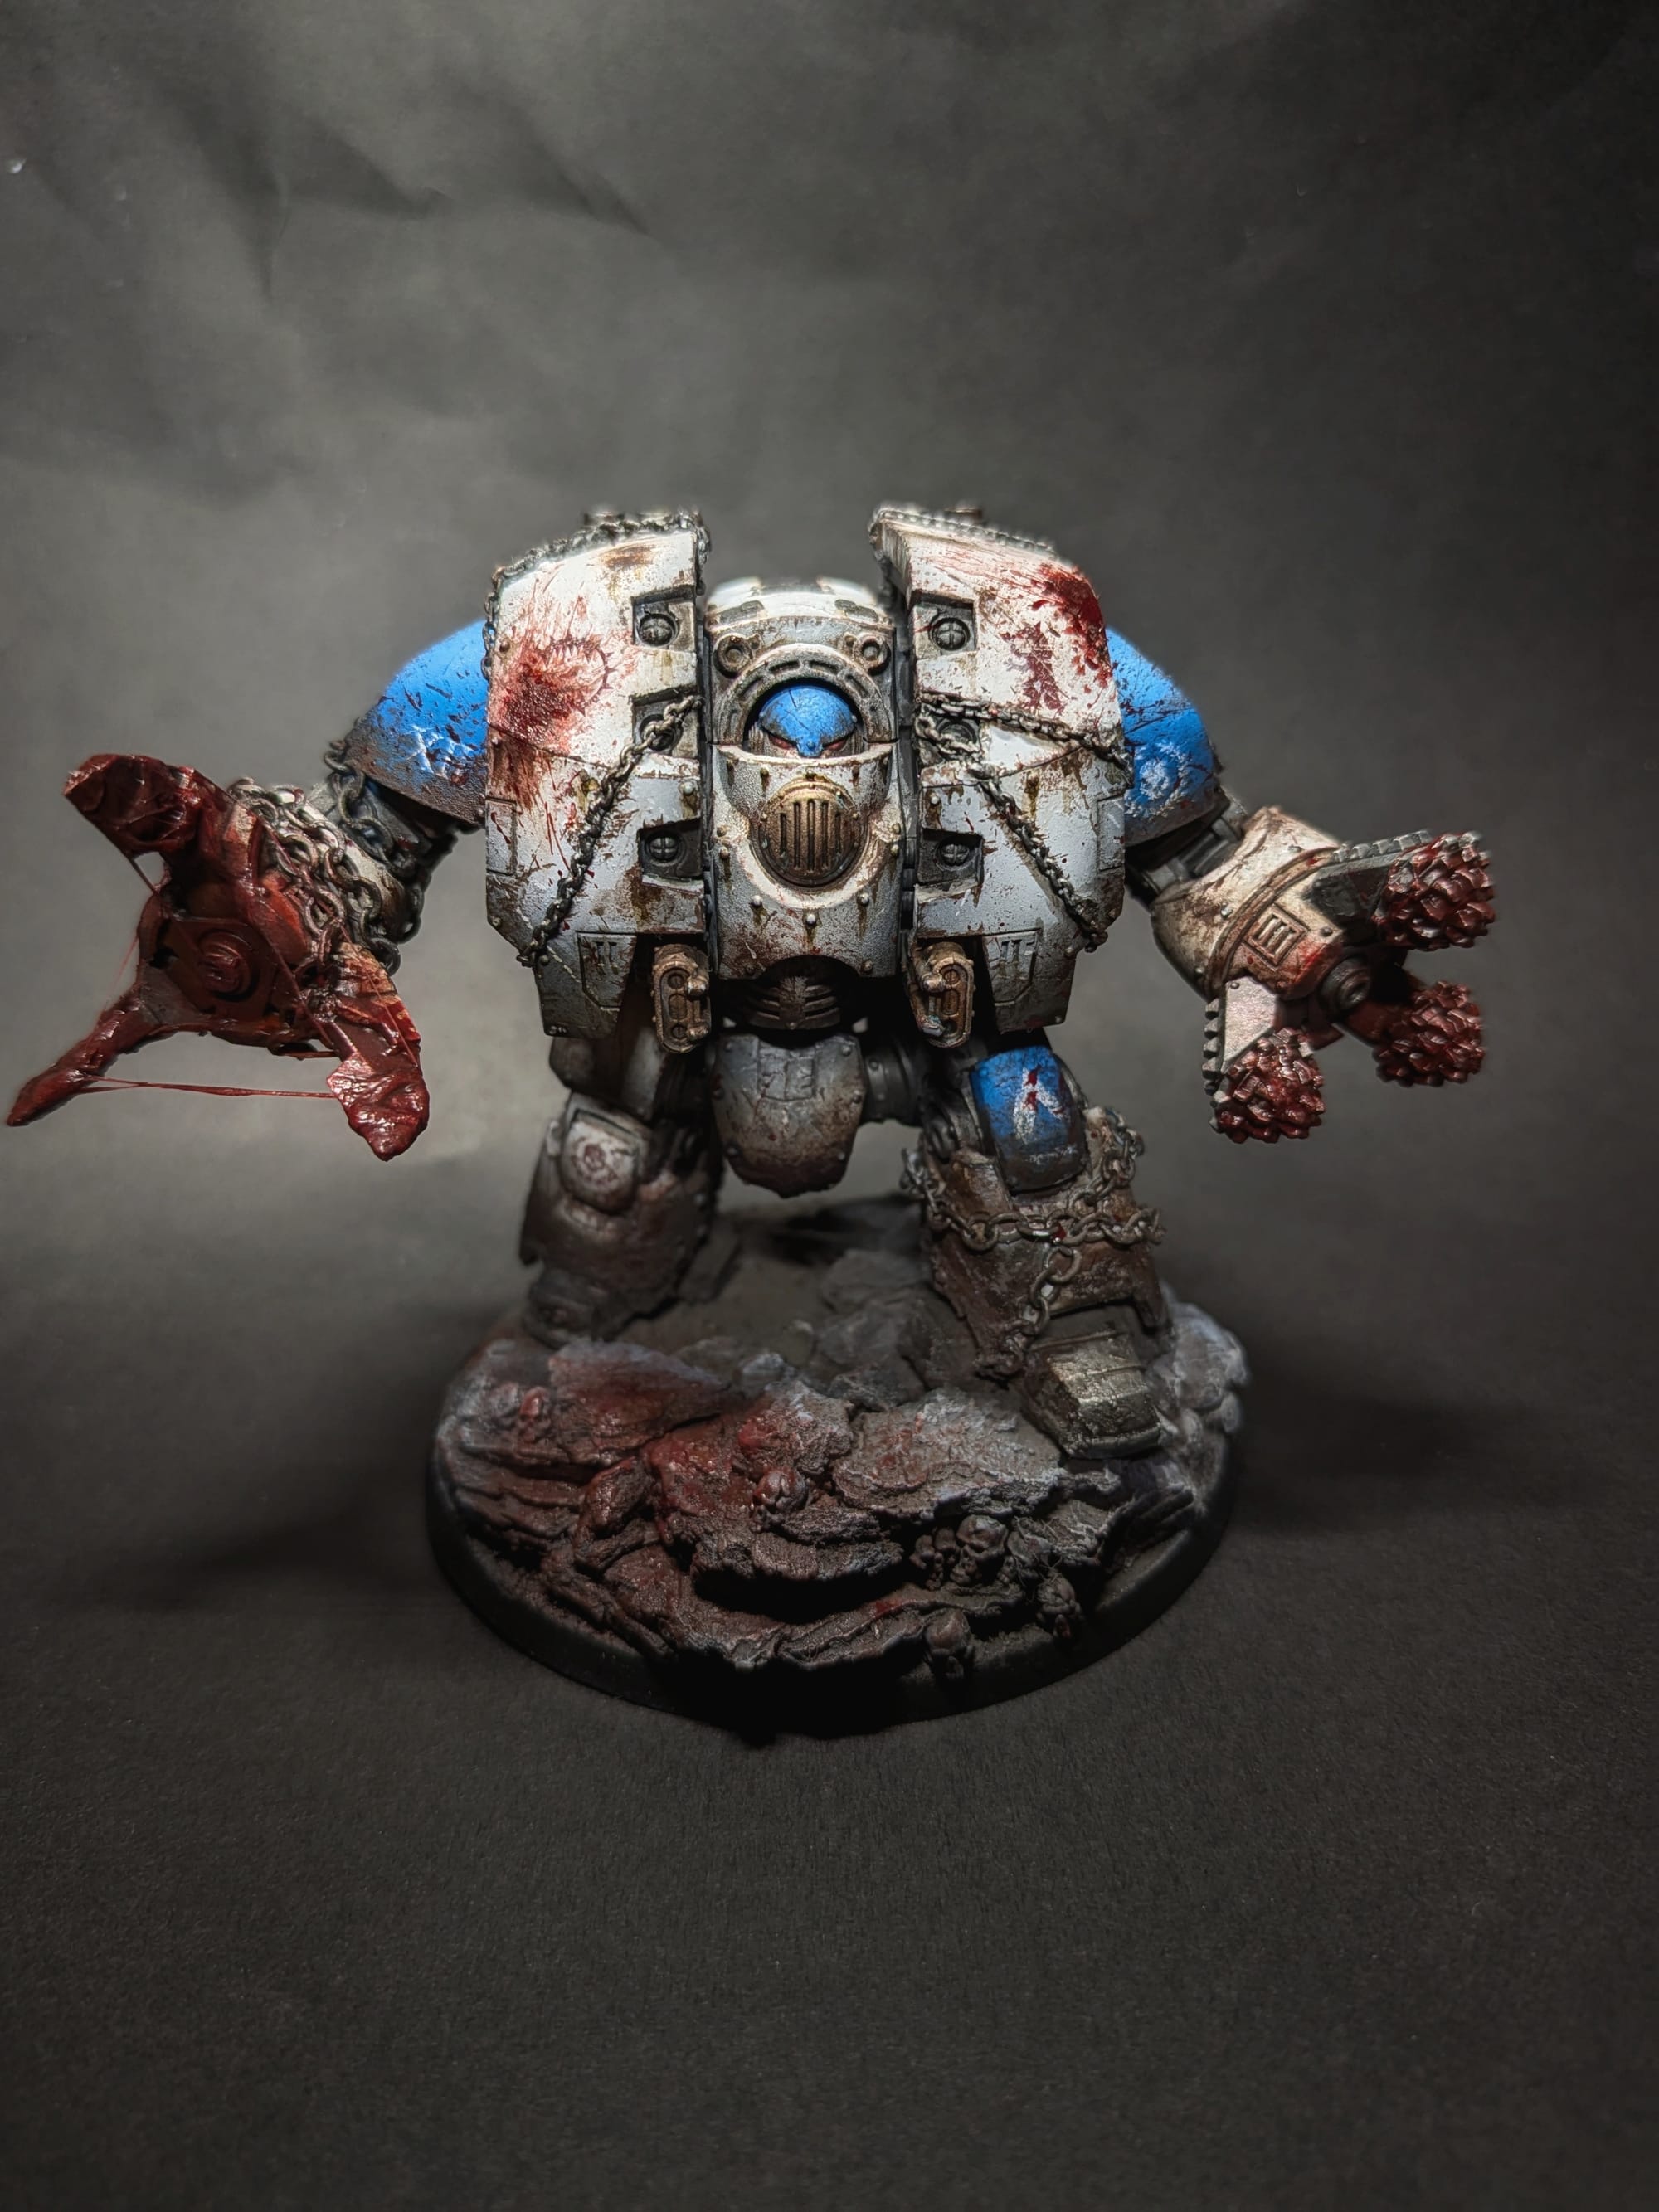
Layer painting is the process of working up from large, dark base coats to gradually thinner, lighter highlights in many thin layers. Layer painting is the most commonly taught form of miniature painting. It’s the ‘traditional’ form of painting, and it’s important to learn the basics because the skills and techniques involved carry over into every other style and technique.
In general, stick to the mantra of “two thin coats'' for every layer of paint. Your first coat should be a little rough and transparent, and by your second or third coat the paint should be even and opaque. If it’s still partly see-through, or you can see prominent brush marks, your paint is too thin. If your model is completely covered in a single coat, or if the paint appears clumped or grainy, your paint is too thick - don’t worry, you still have time to add water before the paint dries. If you’re nervous about getting this right, you can always experiment by painting on a strip of cardboard or paper.
You’re going to be applying a lot of layers. Different colors will blend together better if the paint on the model is still a little wet, but don’t worry if your paint is drying faster than you want it to. Strong transitions in color may look drastic up close, but from tabletop distance they’ll look just fine. If you want smoother color transitions on your model, take a look at a more advanced technique called “wet blending”.
Base Coats
Start by applying your darkest colors to the largest parts of your model. This is called ‘base coating’. Metal armor, clothing, exposed skin, that kind of thing. You start here because it’s the step where you can be the messiest - any paint that accidentally gets on other parts of the model will get covered up in future steps. You want nice, even patches of color that sort of split the model up into different sections that you can tackle individually.
Layering Up
Once your base coats are applied, focus on each “section” one at a time. Work up in color with layers of gradually brighter, thinner coats. Two shades of a color is enough, three to four is ideal if you want to get fancy. Remember, work from darkest to lightest whenever you can. If you’re nervous about mixing colors, or have a limited collection, all you really need is your base color, a little black, and a little white. Mix in a drop of black, that’s your base coat. Shade with the regular color, highlight with a little white mixed in. You can then glaze over the whole thing with a very thin coat of the original color to bring the whole thing together. You’ll be surprised at the depth of color you can achieve by mixing a single shade with black and white.
Shading
At this point, every part of your model should have paint on it. There might be details missing - patterns in the fabric, highlights in the hair, color in the eyes. Before doing any of these finer details, we highly recommend giving your model a good wash with wash paints. Take a thick brush, apply it across the entire model and allow it to dry completely. Don’t let it mix with wet paint or it will be glossy, and try not to let it pool up anywhere or you’ll get a coffee-stain looking patch. Once you’ve finished, you will have deeper shadows and smoother blends across the entire model.
Edge Highlighting
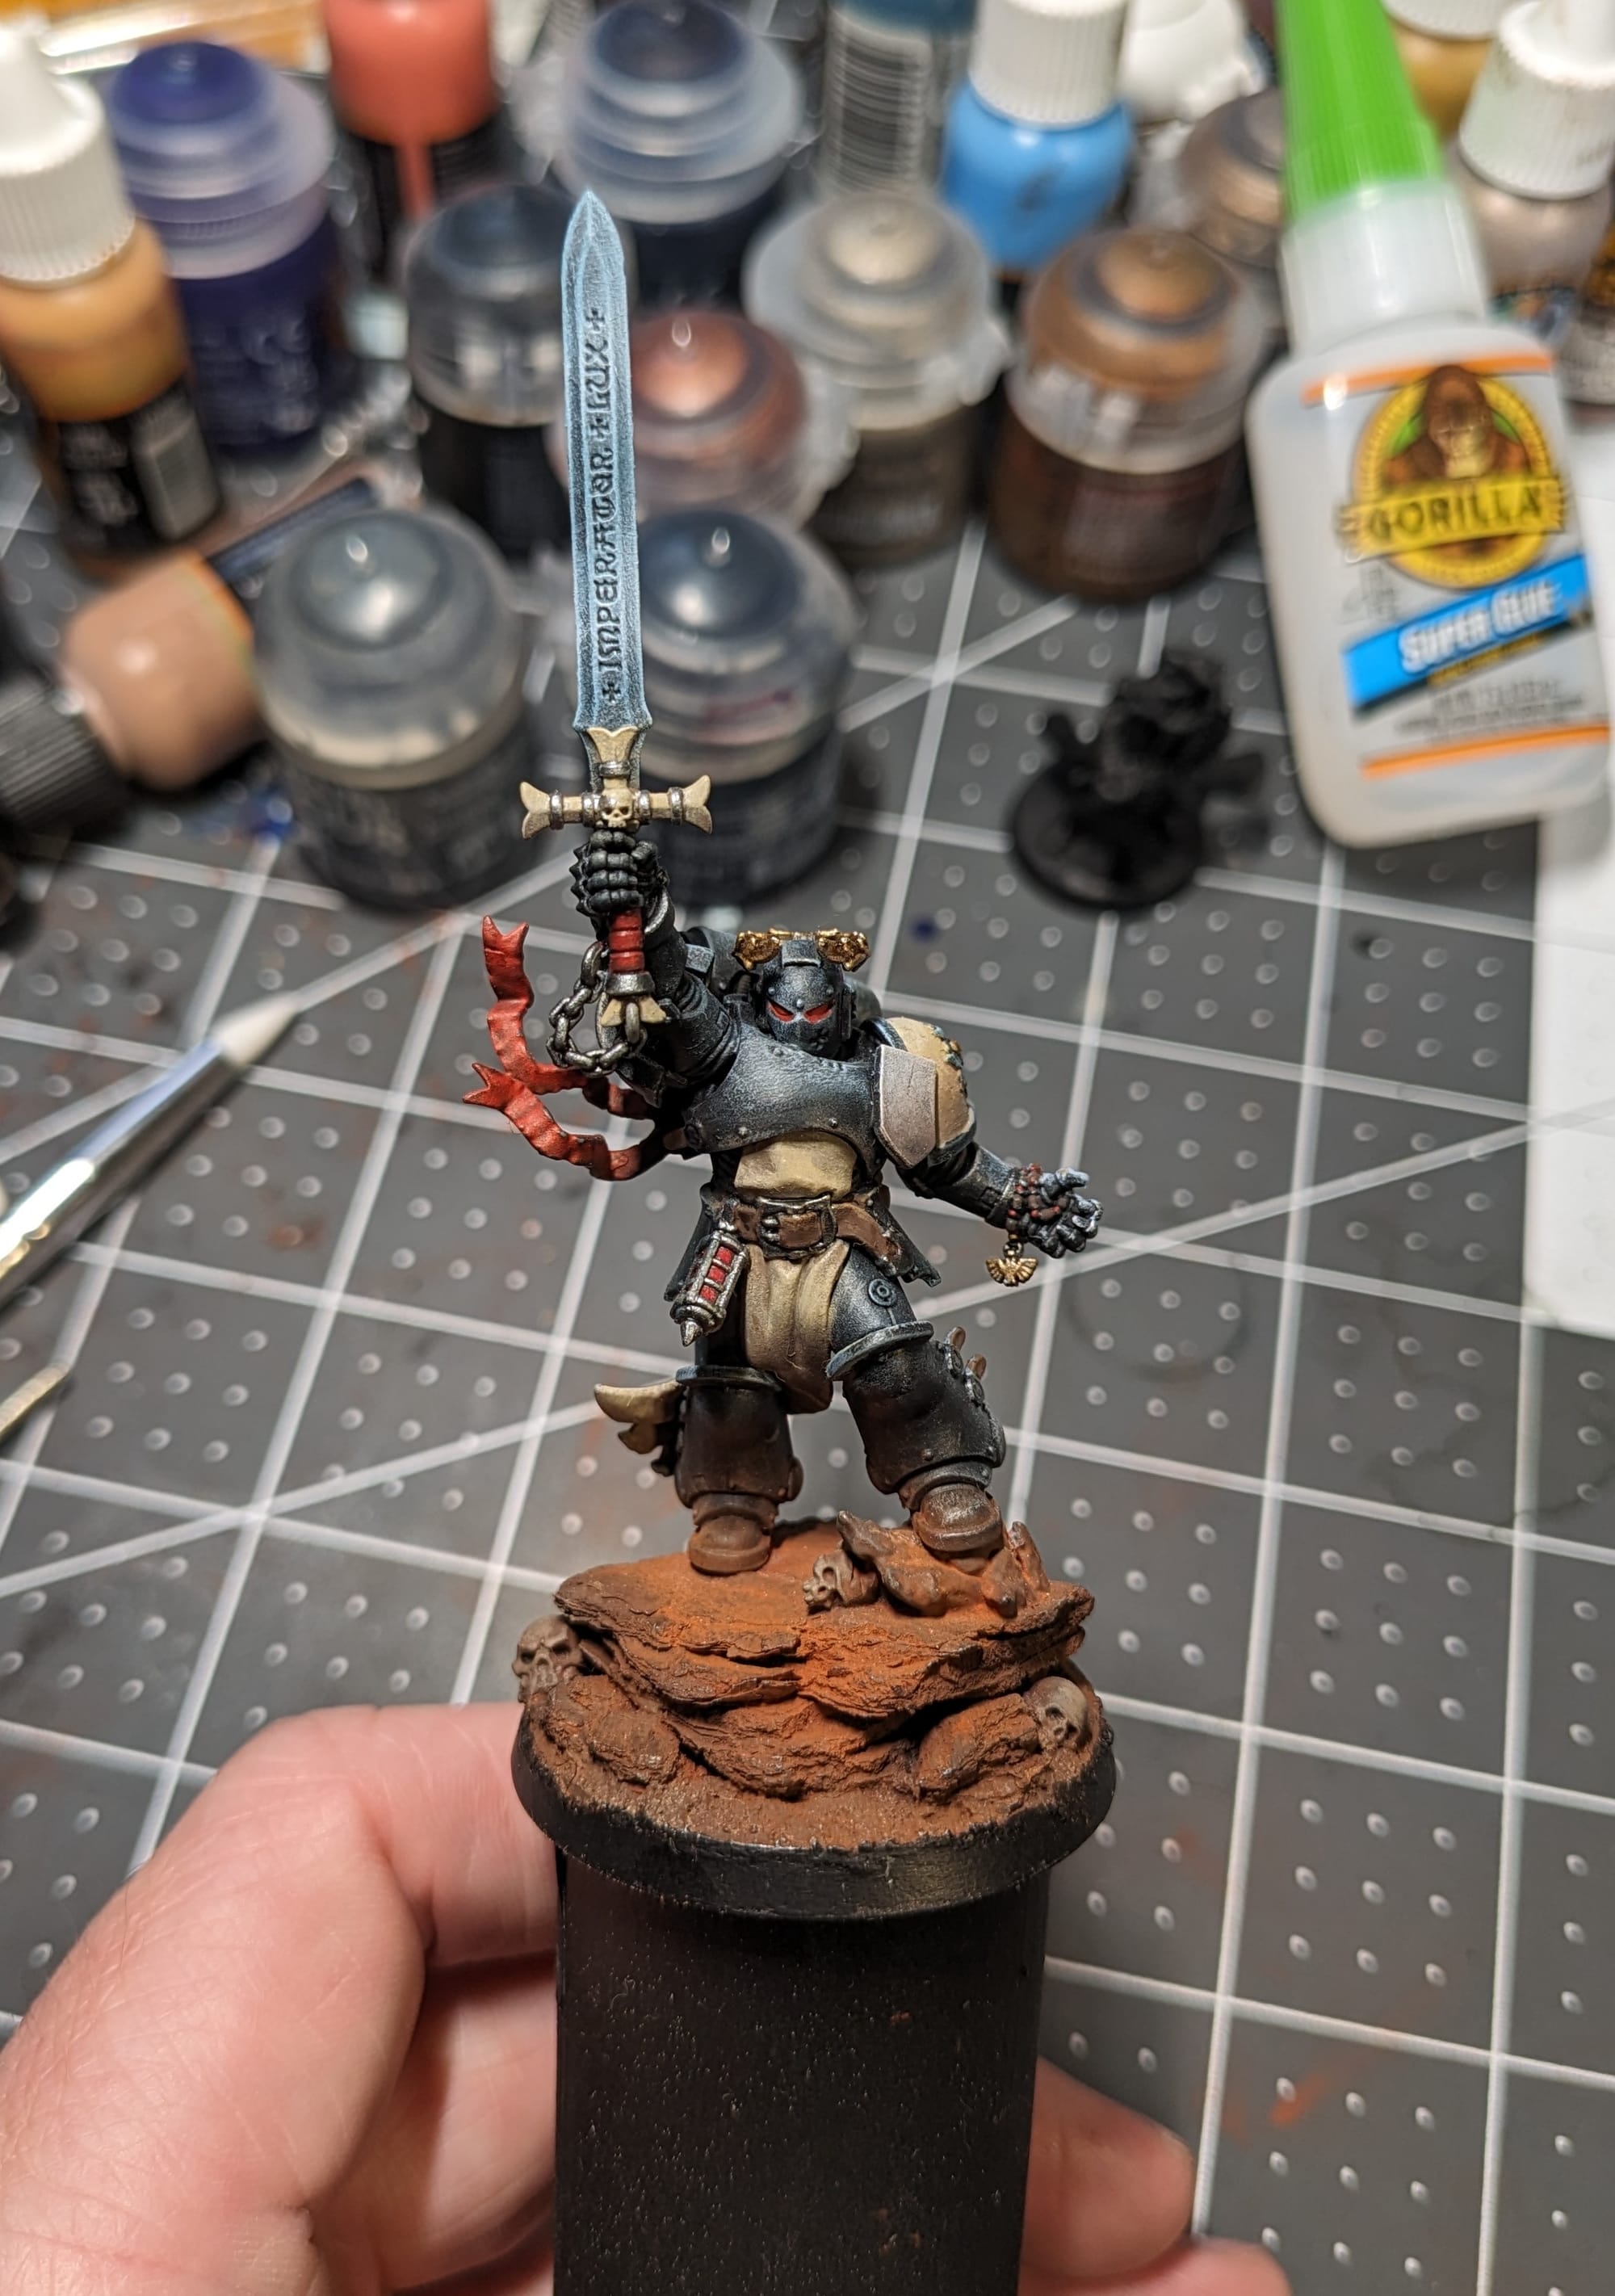
Edge highlighting is a technique that adds definition and depth to raised edges and contours of a model. It’s a process that takes patience, precision and practice to master, but it will significantly level up your paint job and make the details pop on the table.
Edge highlighting involves painting a thin line of lighter color along the edges of the raised surfaces of a model to simulate the effects of light. Advanced edge highlighting will involve many thin layers of gradually lighter colors, seamlessly blended to accentuate fine details like armor plates, weapons, clothing folds and facial features.
Detail Work (Optional)
Alright, now for the part you’ve probably been dreading the most. You’ve probably seen pictures of beautiful minis with painstakingly detailed eyes, glimmering swords or torches that seem to burn with real light. Here’s the thing - these are all nice ways for an experienced painter to flex their skills, but unless you’re inches away from a model, you probably won’t notice most of them.
Use the smallest brush you can, ideally somewhere between size 0 and 000. Keep in mind that these brushes are so small that paint will dry on them very quickly, so don’t be frustrated if you take too long and nothing comes off the brush by the time you actually touch the model.
Keep both of your hands supported and steady. It can be nice to have some kind of magnifying glasses or lamp for this step, but it’s not strictly necessary. As with any other step, don’t panic if you make a mistake. You’re working with such small amounts of paint that you can very easily go back over blemishes with little dots of the original colors.
Drybrushing
Drybrushing is a versatile technique that can supplement layer painting as an alternate technique for edge highlighting, or can replace layer painting altogether as a method to quickly and easily paint a model. Drybrushing involves using a thick brush with very little paint on it, dragging it lightly and repeatedly across the model. The dry brush will catch the edges and raised details, leaving behind a small layer of paint just on the edges. This technique also emphasizes texture, easily adding depth and dimension.
Drybrushing is fast, easy and efficient. It won’t achieve nearly the same level of detail as traditional layer painting on its own, but when used in conjunction with other techniques, it becomes an effective and reliable tool for easy highlights and texturing.
Slapchop
“Slapchop” is a beginner-oriented method of speed-painting that has gained popularity in the last few years. Slapchop uses a combination of layering, drybrushing and contrast paint to shade, layer and highlight. This technique won’t win you any painting competitions, but when you need to get a large number of models on the table fast, slapchop is the way to go.
The process goes as follows: first, you prime the model in a light gray color from the top-down. Next, you “chop” the model by dry-brushing white on the highest surfaces, simulating a light source from above. Lastly, you “slap” on your contrast paint, and as you watch it settle you’ll see the base layers simultaneously forming shadows in the recesses and highlights on the edges. If you want a little more quality, you’re welcome to layer on some highlights after this step.
We hope our miniature painting guide helps you get started and gives you the knowledge you need to improve. If you need any other advice on anything and everything tabletop roleplaying, then feel free to read any of our other articles on Legend Keeper's blog.